
What to store in a Faraday cage.
Views 1126
Language:

I don’t want to discuss any political situation here at this platform but recent events in the Easter Europe shows necessity to take adequate measures to the current development of military situation at the area.
Possibility to escalate already terrible situation in Ukraine even to higher stage of conflict is extremely high. Using of nuke doesn’t matter by which side can be step to the end of civilization. Nobody wish to happen this but every prepper must be ready for worst case scenario.
Nuclear explosion has several effects one of them is EMP - Electromagnetic pulse. EMP can be created also by very strong solar flares or very strong lightning.
Electromagnetic pulse is a brief burst of electromagnetic energy. The main problem of EMP is destruction of any electrical circuit up to hundreds kilometers from the blast.
A Faraday cage is a container made of conducting material, such as wire mesh or metal plates, that shields what it encloses from external electromagnetic fields. Good shielded container will protect any electric equipment against EMP.
To build a shielded container on principles of Faraday cage is quite simple. Every prepper can DIY.
Let’s start with process to build your shielded container.
1. Size
Your first step should be to determine how big container do you need. The best way is to collect all your items which should be protected and put them at one place to see how big space they need. Count some spare room for new items which you can get later.
When you have an idea how big should be container now you can make decision what size or material should be used to build your container. You can divide your items to smaller groups and create more smaller containers.
2. Shape and material
You can use cardboard box or wooden box and cover entire box from outside with aluminum foil and aluminum or copper tape. Never use space blanket for this purpose. Space blanket look like aluminum foil but it has only 8dB attenuation which is very low and absolutely unsatisfactory for shielding.
The most important part of your work in covering is to focus on lid of the box especially edges of the lid. These parts must be perfectly covered with aluminum foil even from inside.
Generally cardboard and wooden boxes do not need to have installed inside of the box any insulation.
Cardboard box can be used for small and light items only and do not expect to move such cardboard box very often because it is not so sturdy and aluminum foil can be damaged.
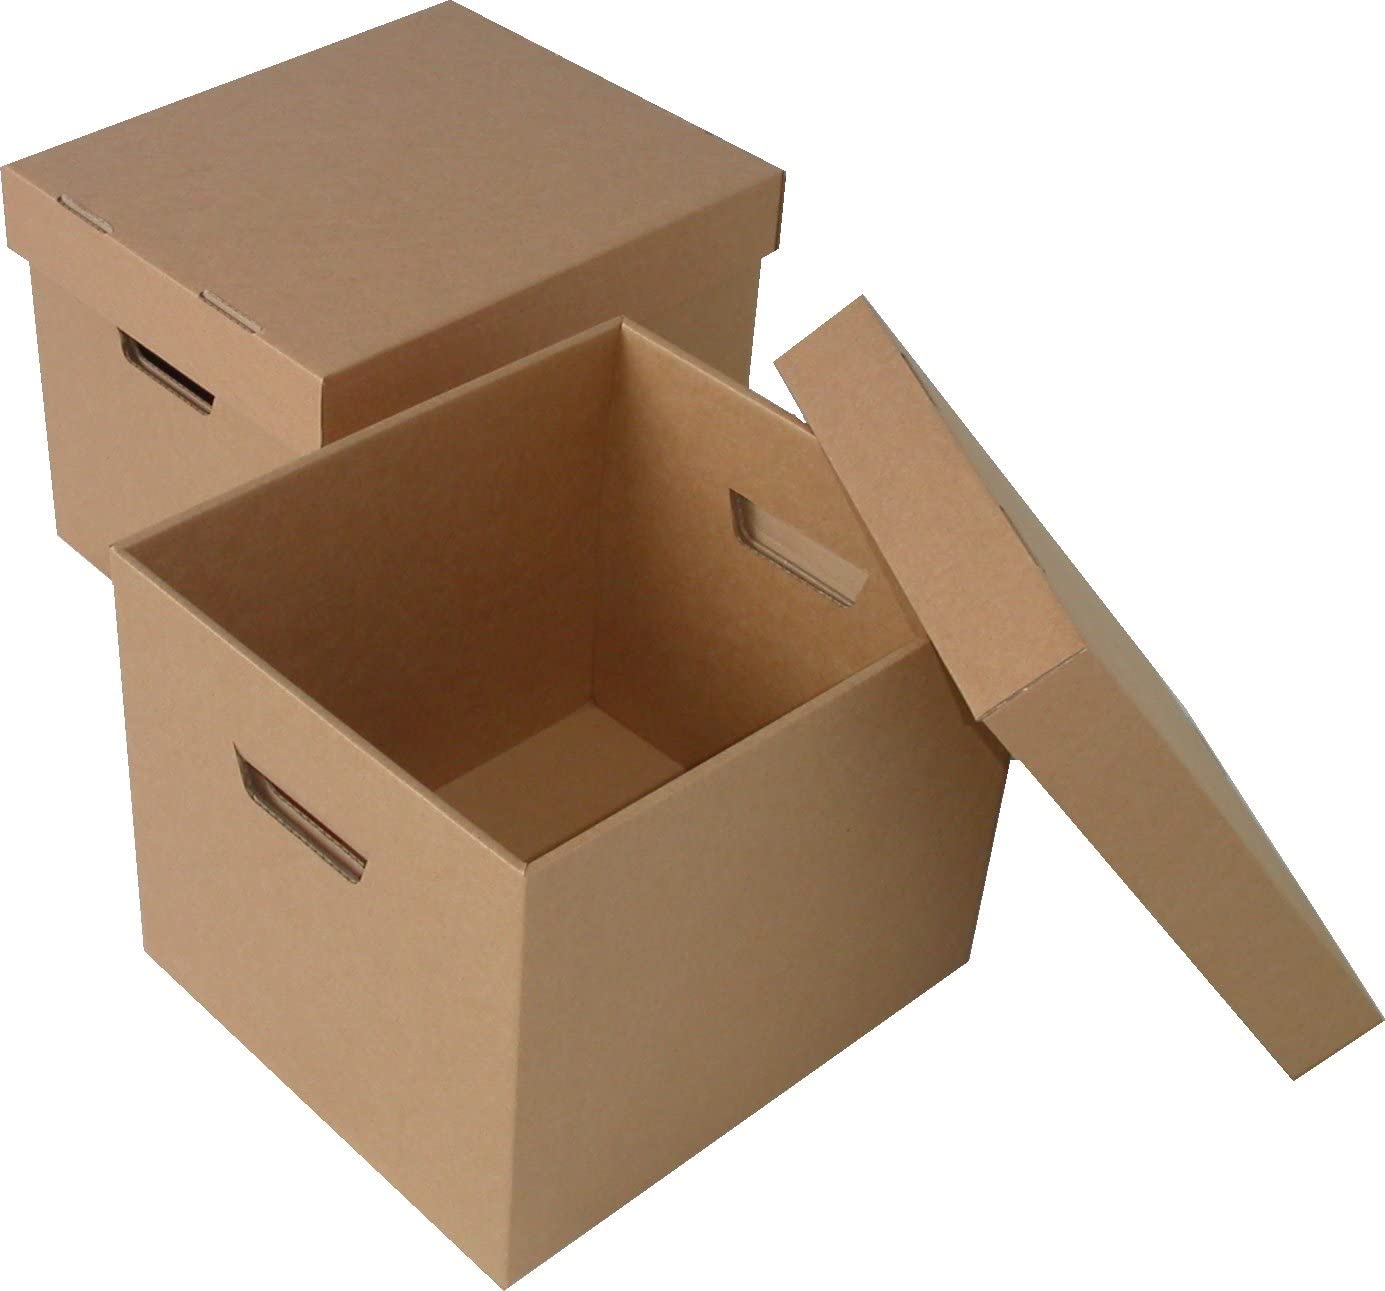
Pic. 1 – Cardboard boxes
On the other hand, a wooden box will be much stronger and will be able to store much larger and heavier items.
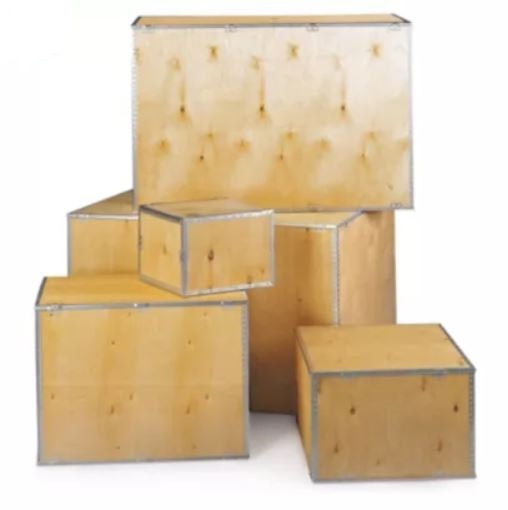
Pic. 2 – Wooden boxes
If you are calculating the cost of quality aluminum foil and tape plus labor, it is better to use any metal container and avoid the work of foil and tape.
The best material for a shielded container will be any metal, and tin is ideal for its solid construction and light weight. Such a container can be easily transported without fear of damage.
A metal trash can that can easily be converted into a shielded container is very popular among American preppers. First of all, it is necessary to seal with aluminum tape all the internal parts of the bucket where leakage can occur - edges, combined parts, places where the handles are fixed, etc. You also need to install some insulation on the inner walls or just insert a smaller additional plastic bucket. This will serve as insulation. The only problem is with the lid of the bucket, which has to be taped from the outside with aluminum tape every time the bucket is opened/closed.
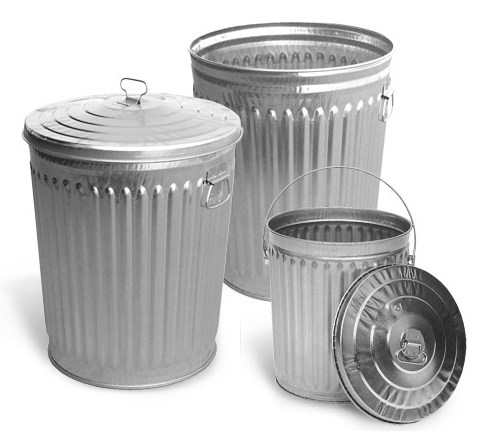
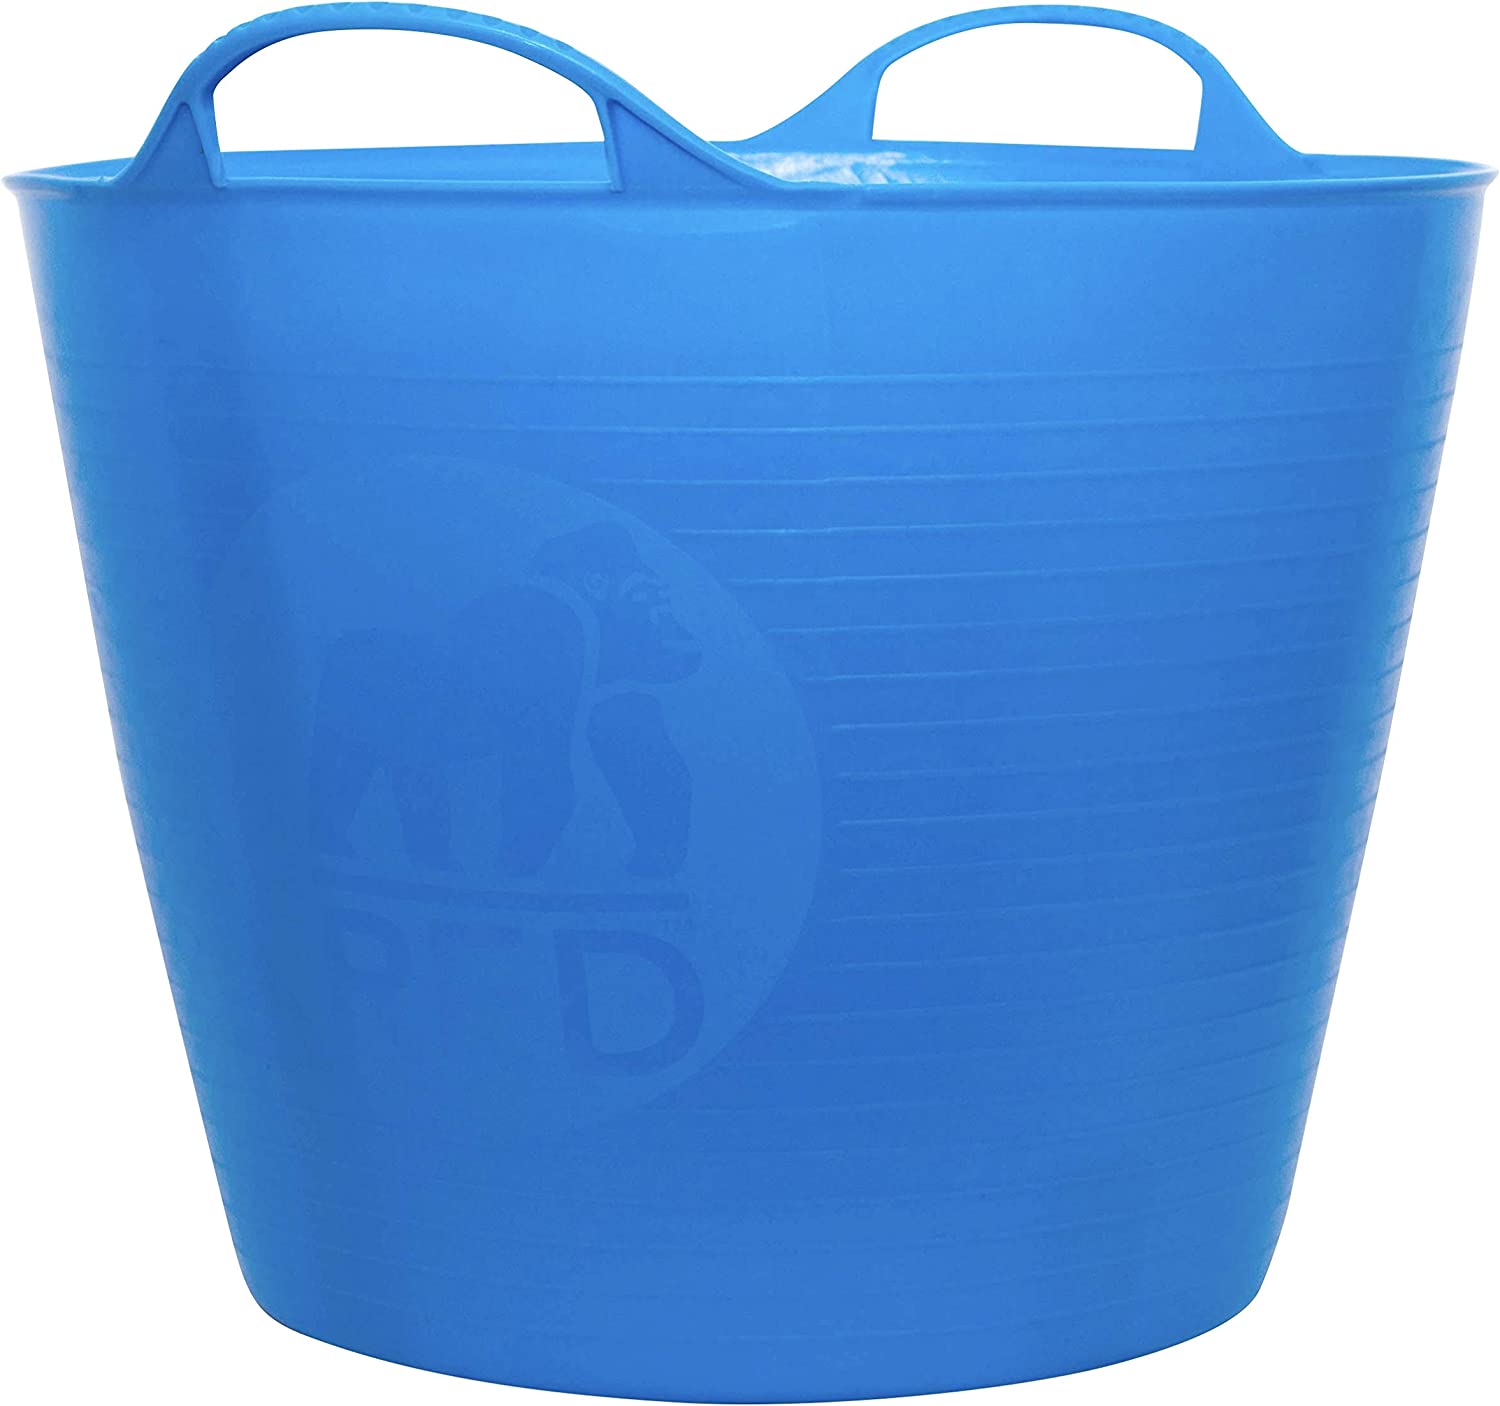
Pic. 3 – Typical American garbage can and plastic bucket
Very good shielded containers are made from military ammo cans. They are from metal, strong and various sizes. You just need to remove rubber gasket from the lid and replace with special conductive rubber gasket which you can buy in this shop here.
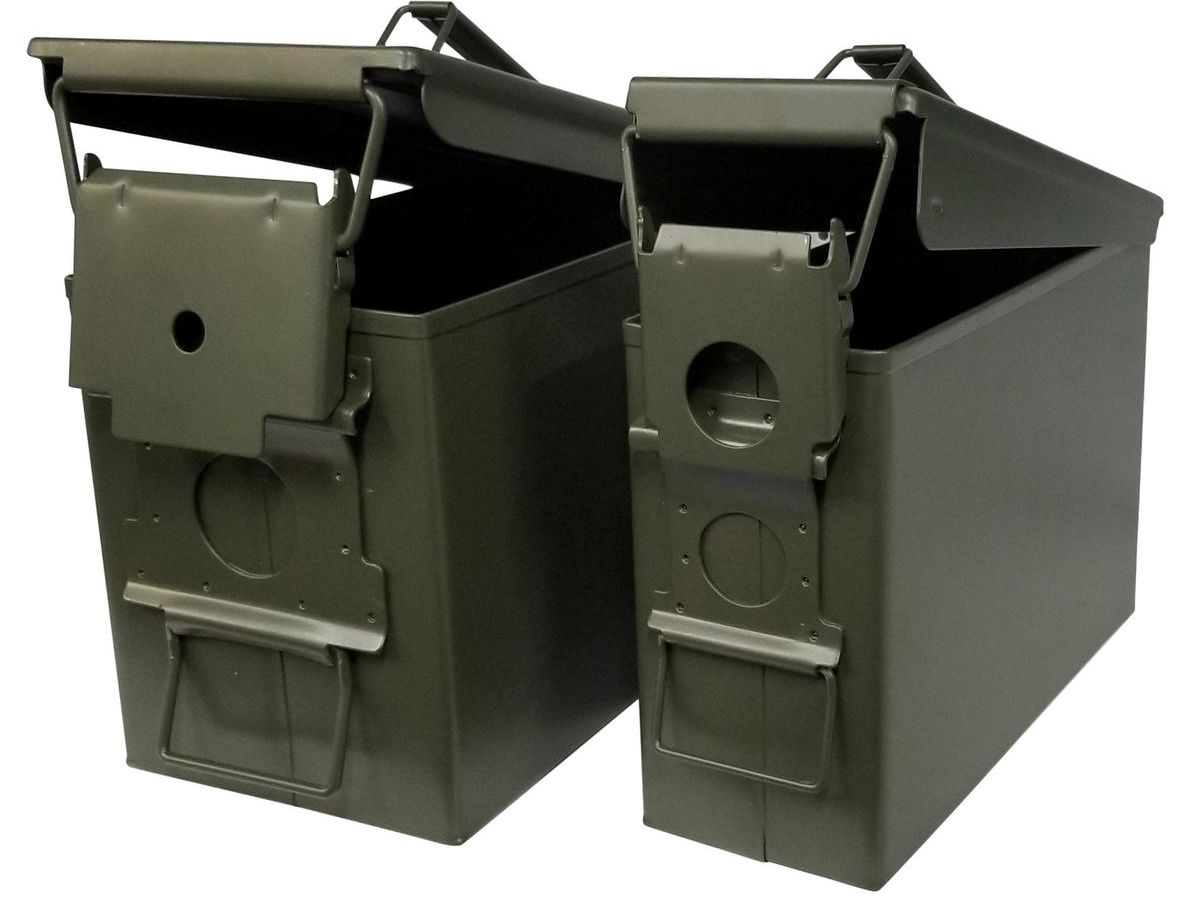
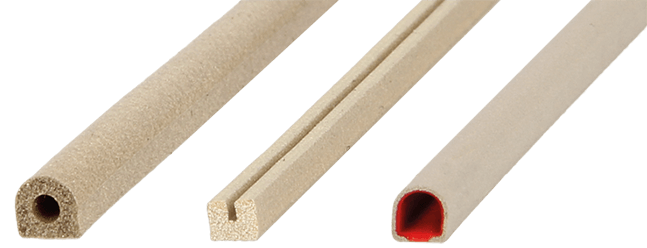
Pic. 4 – Ammo cans and electrically conductive rubber profiles
Another solution is to buy some military metal transport cases from any army shops. They are various sizes even if they are old and used they are still very strong and safe.
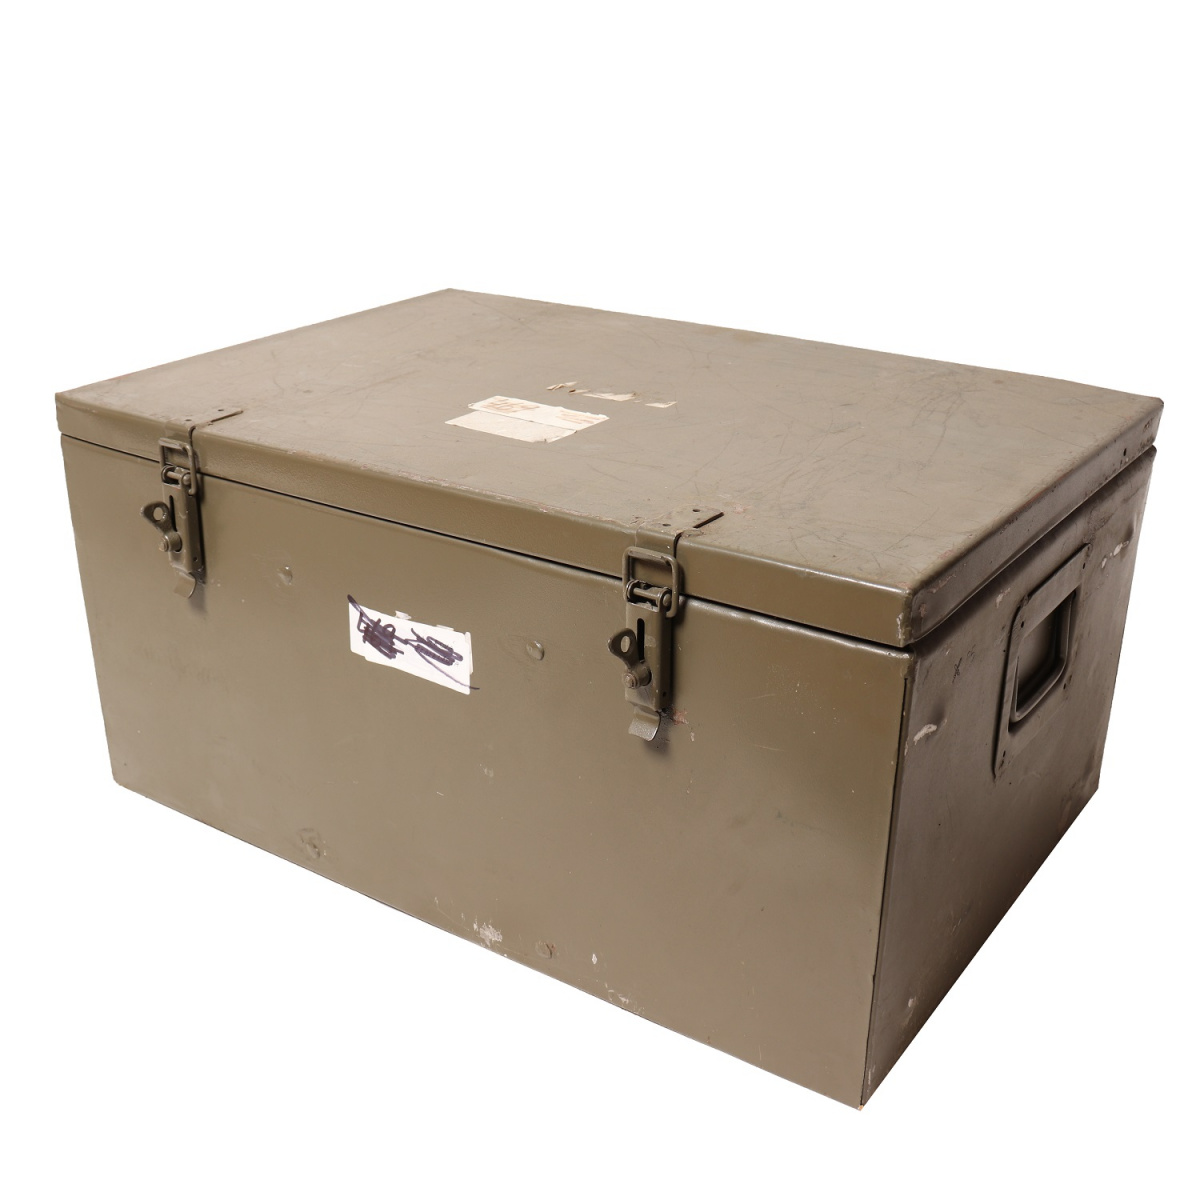
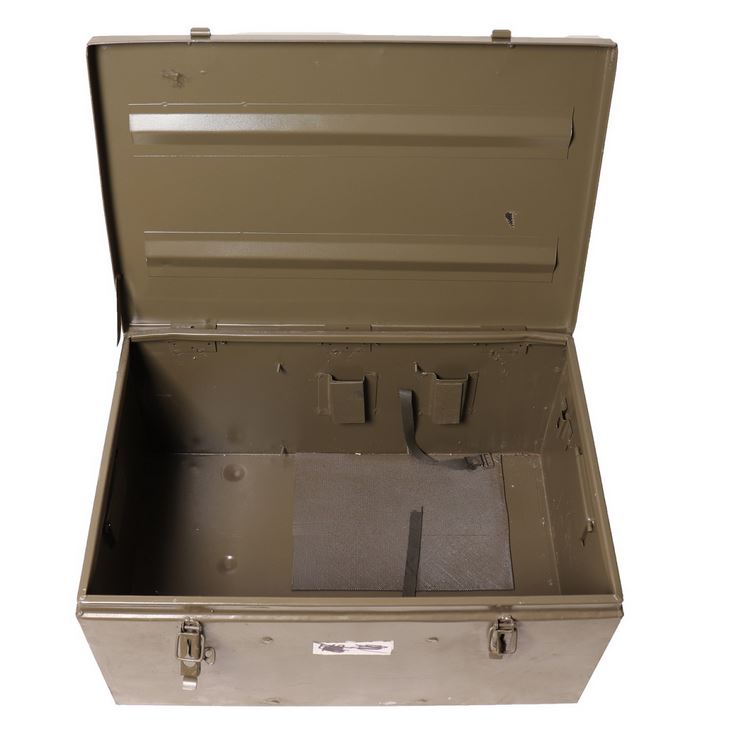
Pic. 5 – Army transport case
Much expensive solution is to buy new galvanized boxes which are used as tool boxes for any workers.
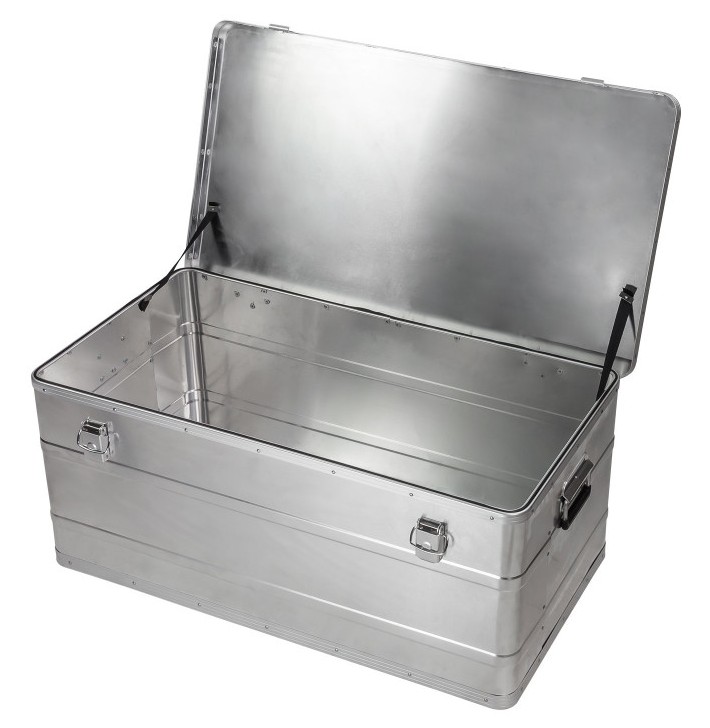

Pic. 6 – Tool boxes
My the most preferred way is to buy metal bucket with removable lid which is fixed with strong metal bonding strap. In this case just remove rubber gasket from the lid and put inside bucket some insulation on the walls and you are done. This bucket is even better then American trash can.
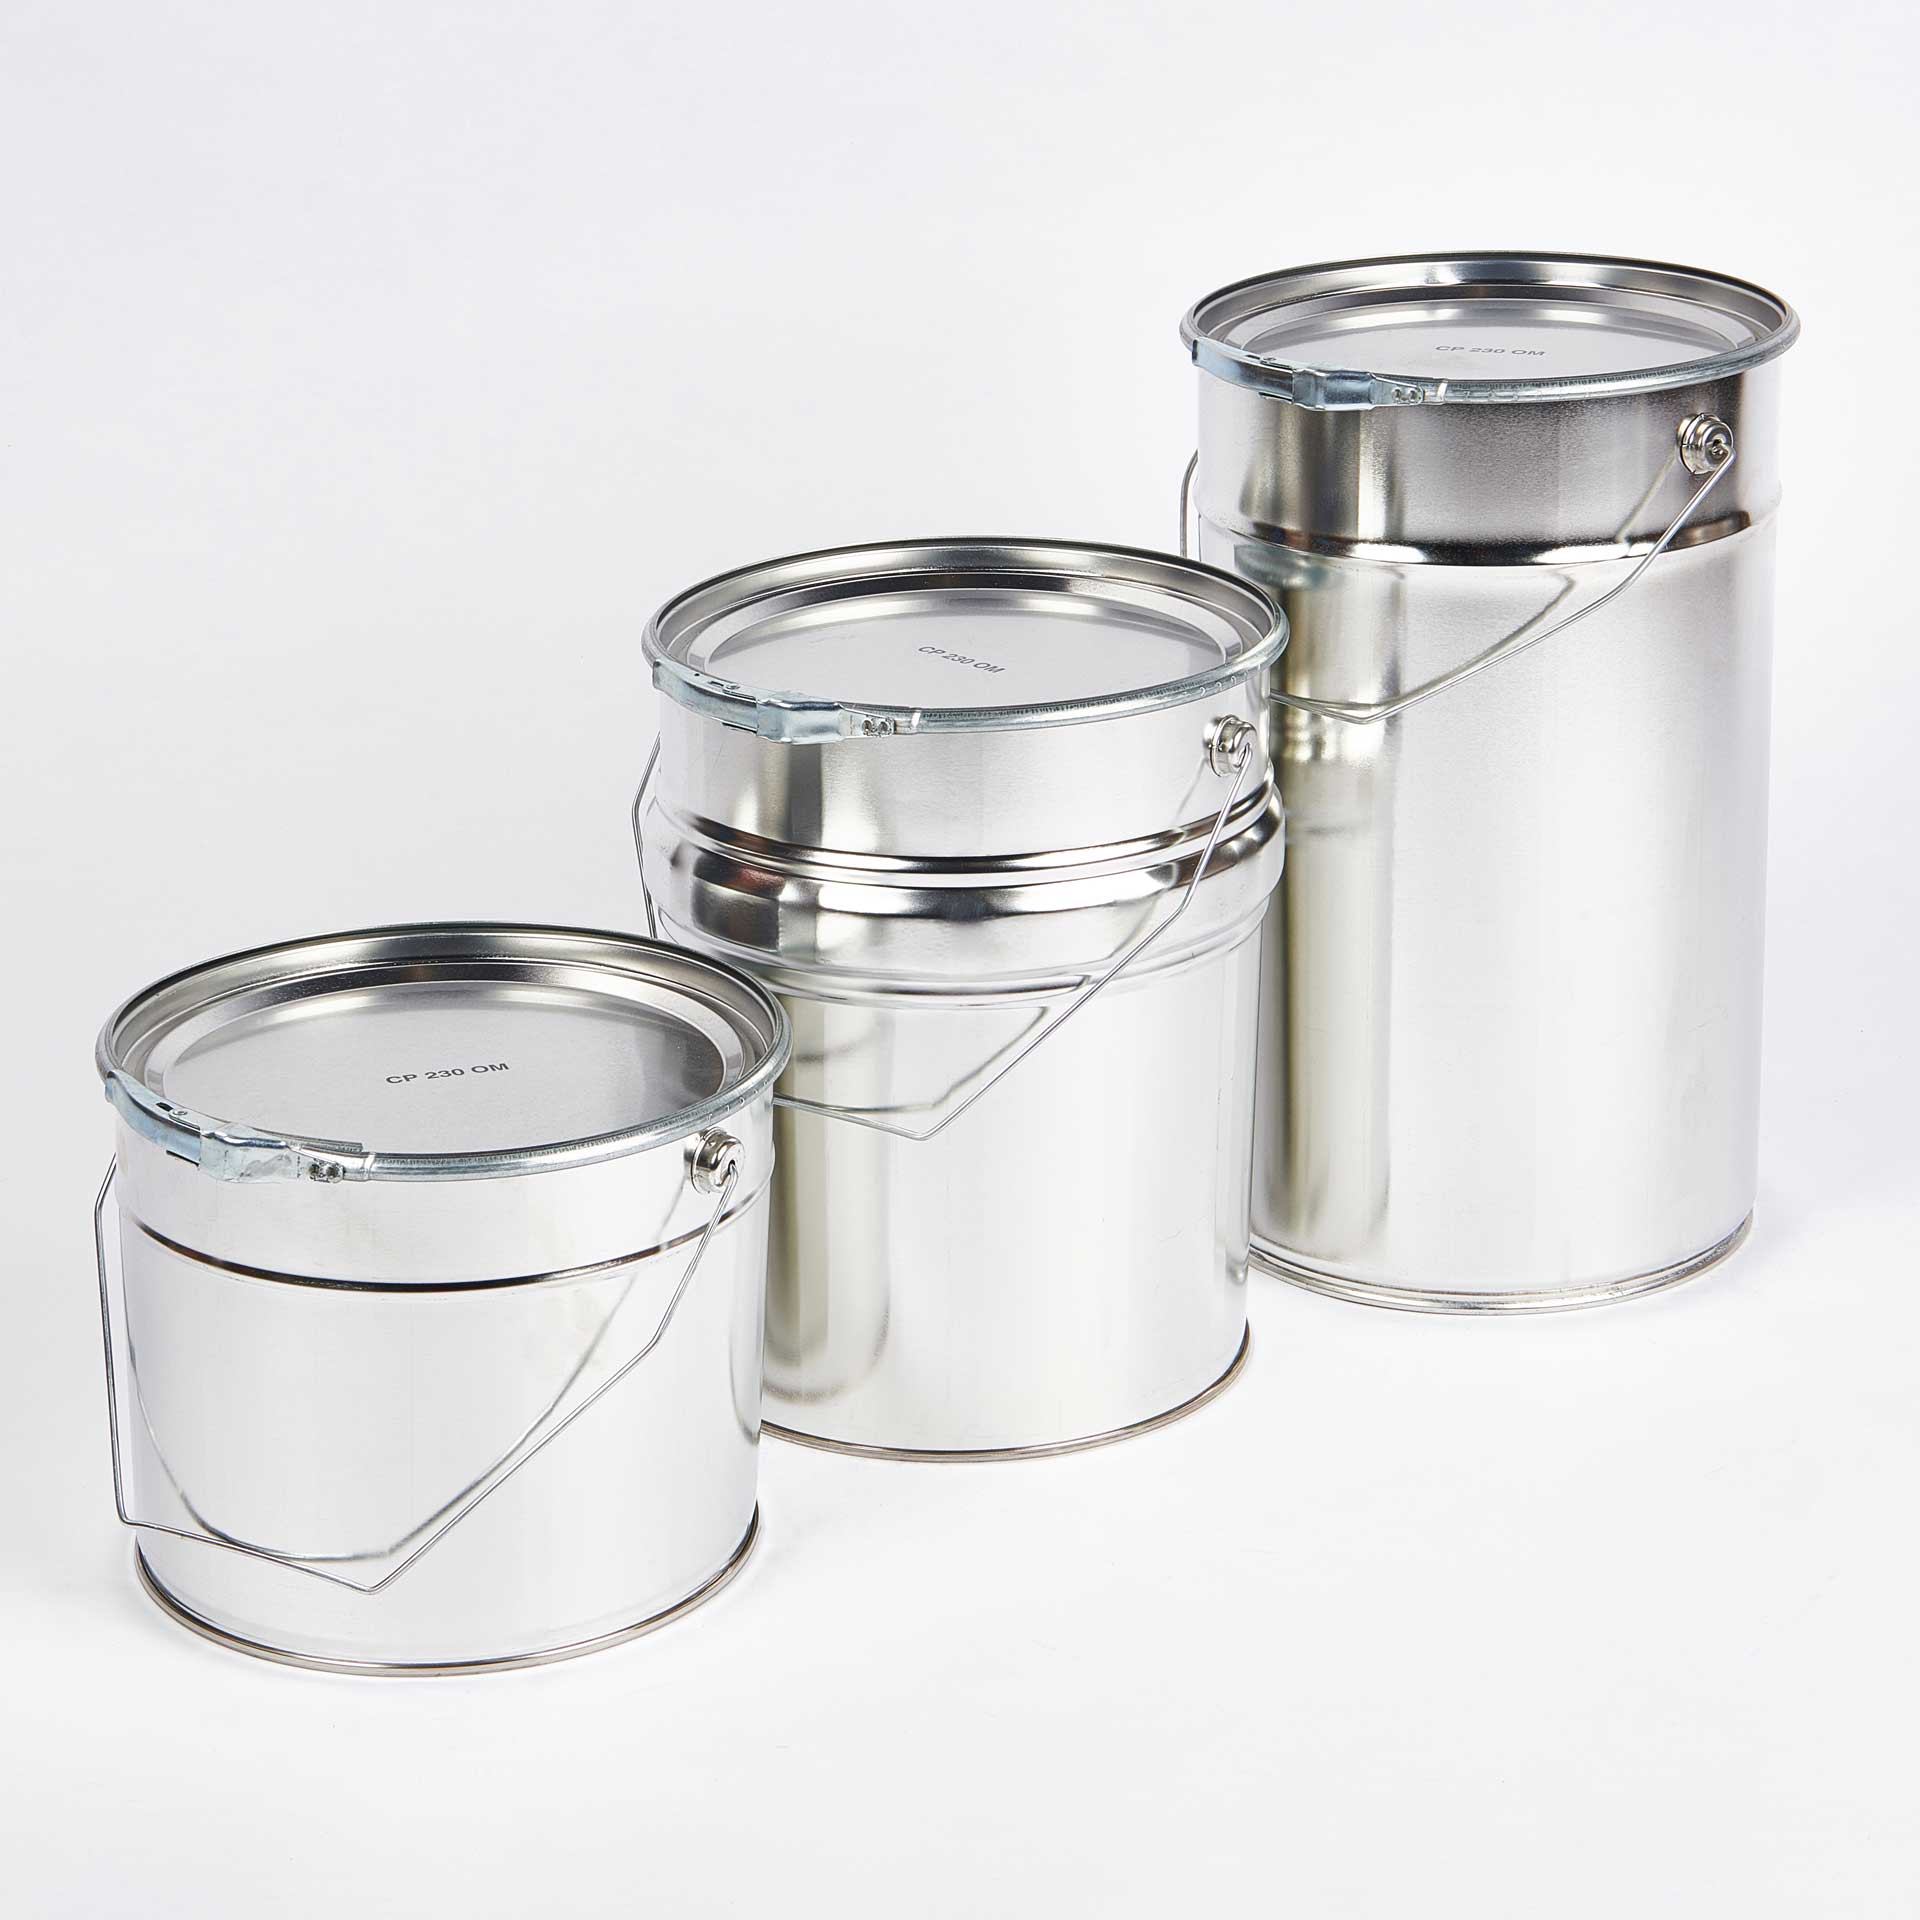
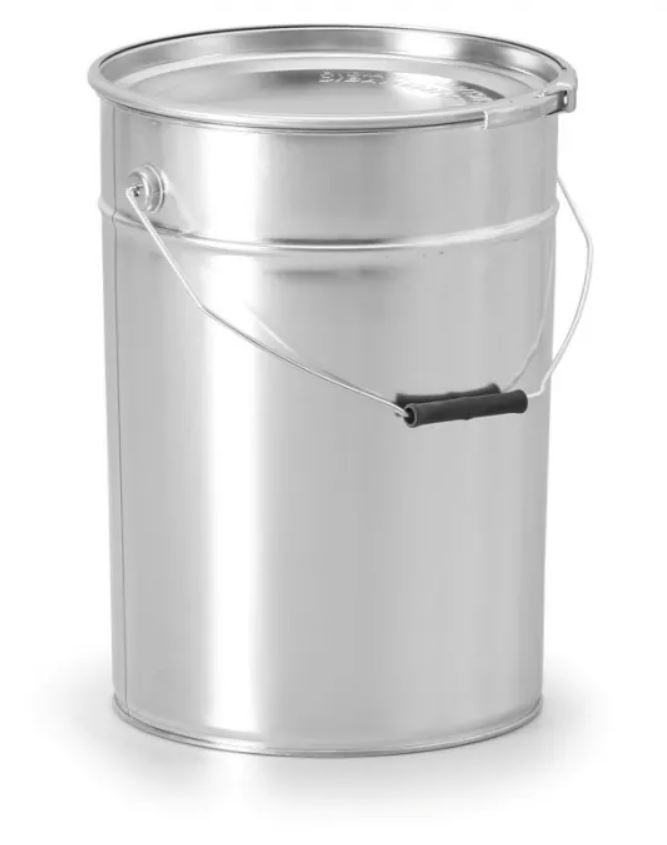

Pic. 7 – Metal bucket with lid
3. Insulation
Each shielded container must have inside some insulation. Items stored inside of the container can not touch of the any metal part of the body of container. You can use for insulation any non-conductive material for example: cardboard, styrofoam, thin plastic mat, foam, bubble wrap etc. You can glue insulation to the inner wall with double sided adhesive tape. In case you will use cardboard as insulation this is the best for square shape containers. For square shape containers are easy installed thin styrofoam panels. On other hand any round containers like barrel or bucket is better to use corrugated cardboard or any flexible insulation material.

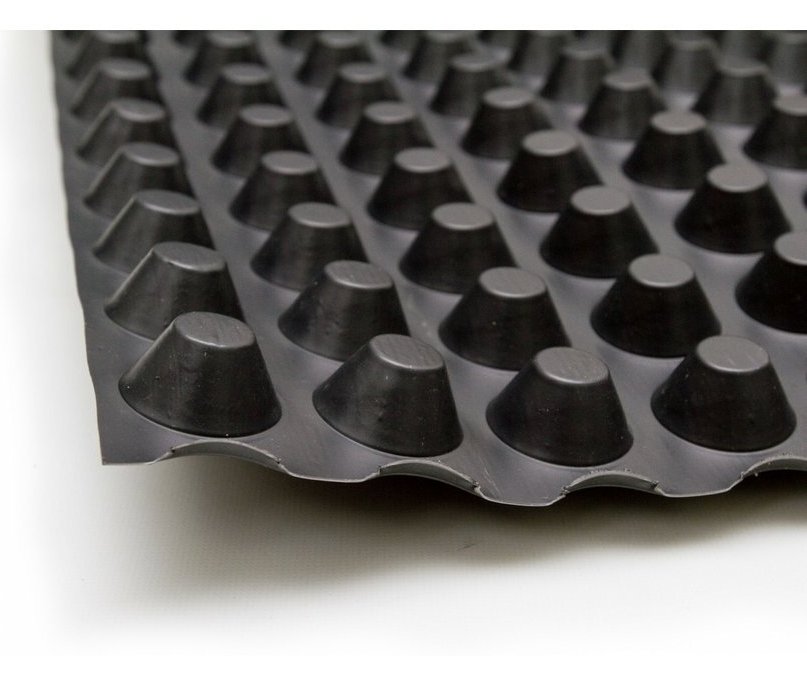


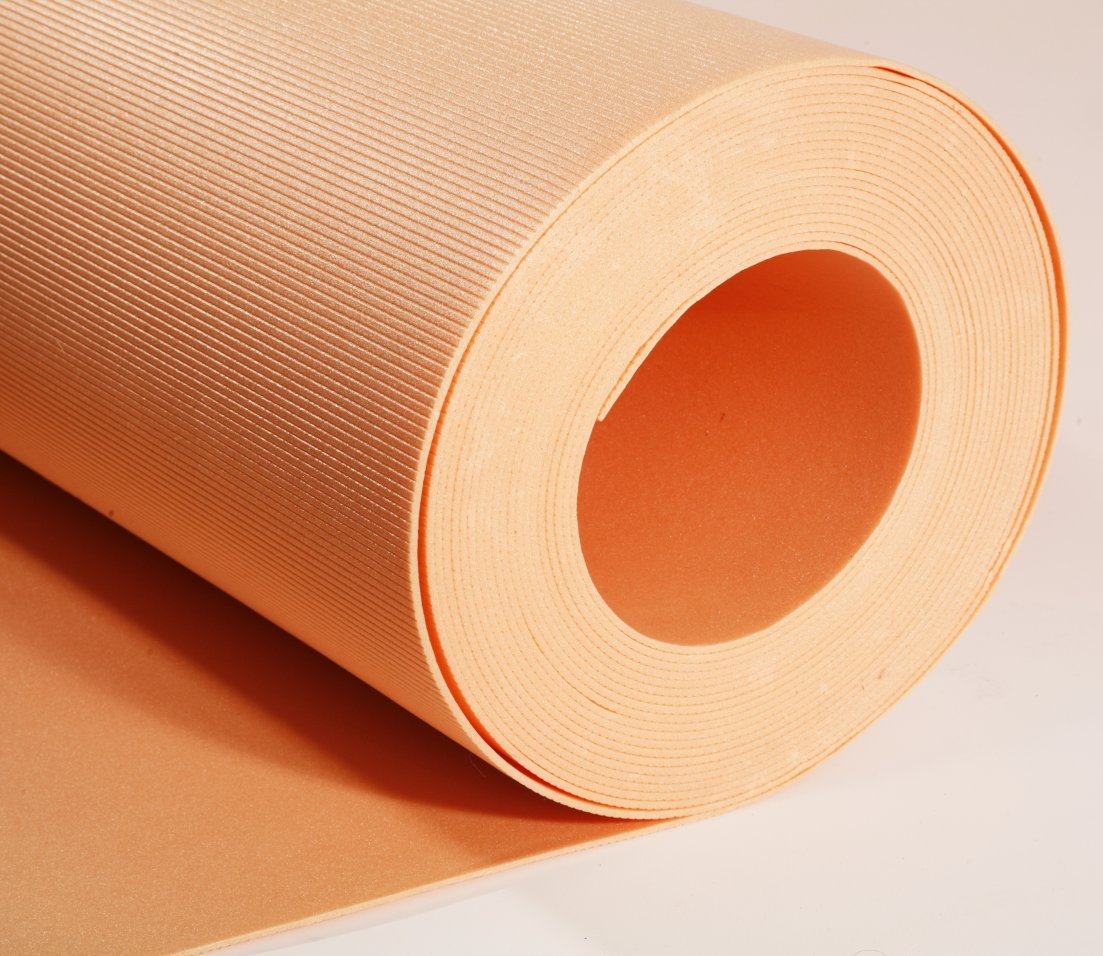
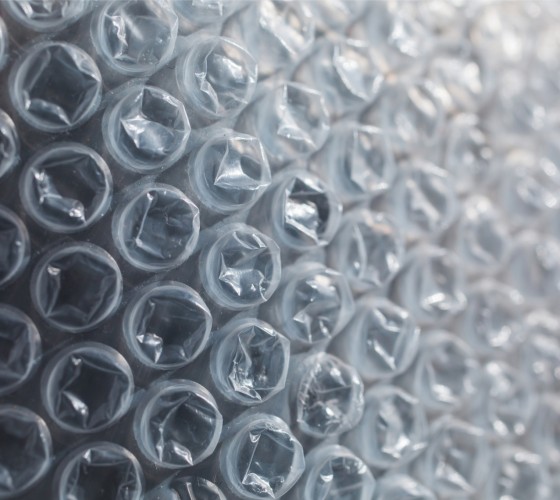
Pic. 8 – corrugated cardboard, styrofoam, plastic mat, foam, bubble wrap
4. Grounding
Many preppers do not mention fact that such shielded container if it must working correctly should be also properly grounded. In case of solar flares is not necessary to ground Faraday cage but in case of nuclear explosion should be grounding definitely used.
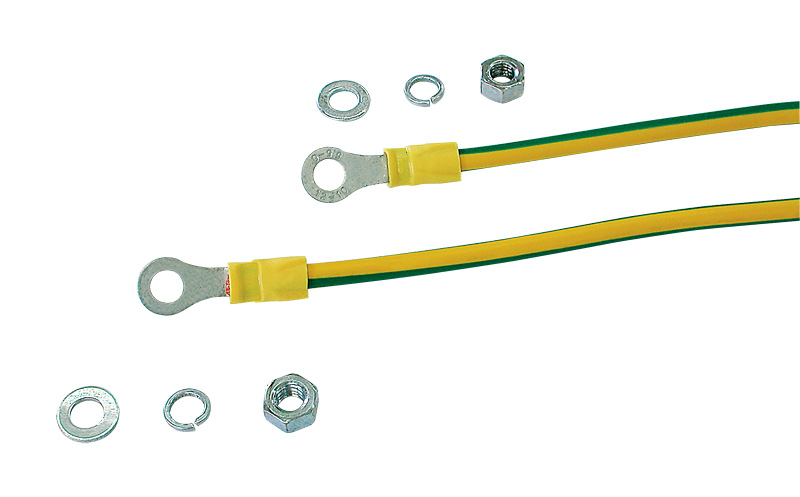
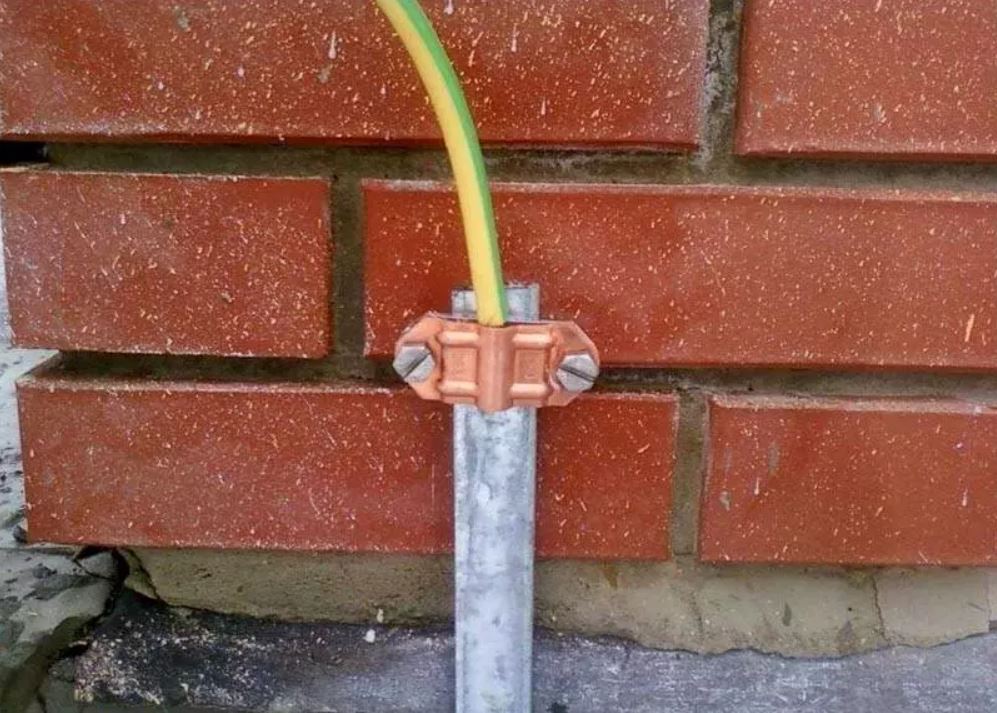
Pic. 9 – Grounding cord and pole.
For grounding use proper strong ground cable and fix it to the container with strong nut and bolt. The place where is mounted nut should be from the inside of the container covered with aluminum or copper tape. Other side of grounding cable should go with metal pole to the ground. Grounding cable should be shorter as possible and not longer then 5 m.
There are many videos on YT how to build shielded container, some of them are good and some pure. Choose the option which will work best for you.
This instructional video is not the best but at least is one of the shortest on YT.
To get more details about EMP read selected free books in this EMP library
EuroPrepper
Views 1126